Fujian Quanzhou Zhenyue Arts & Crafts: Bright LED Christmas Ornaments
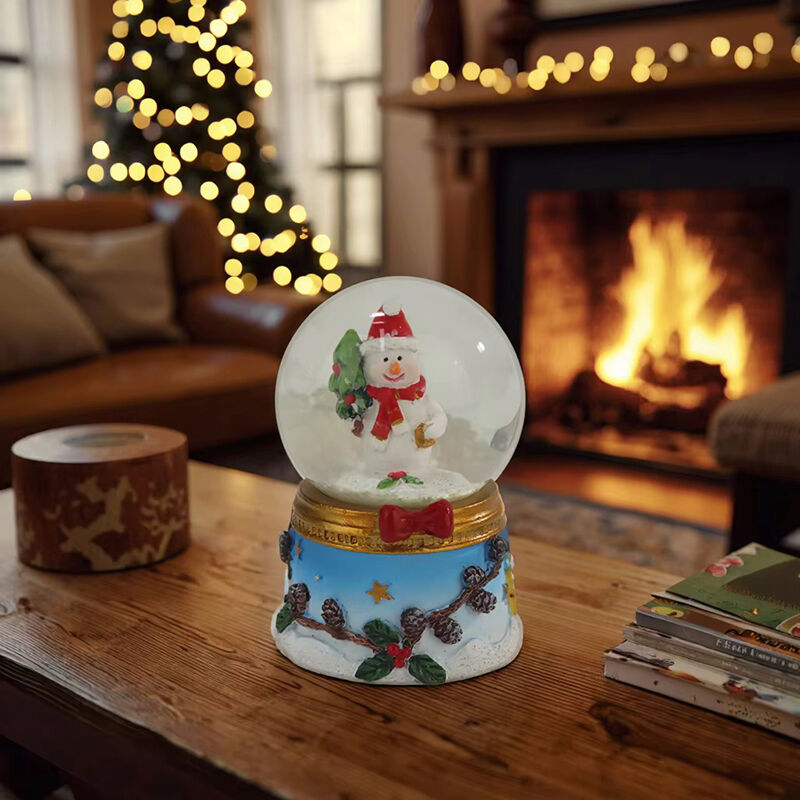
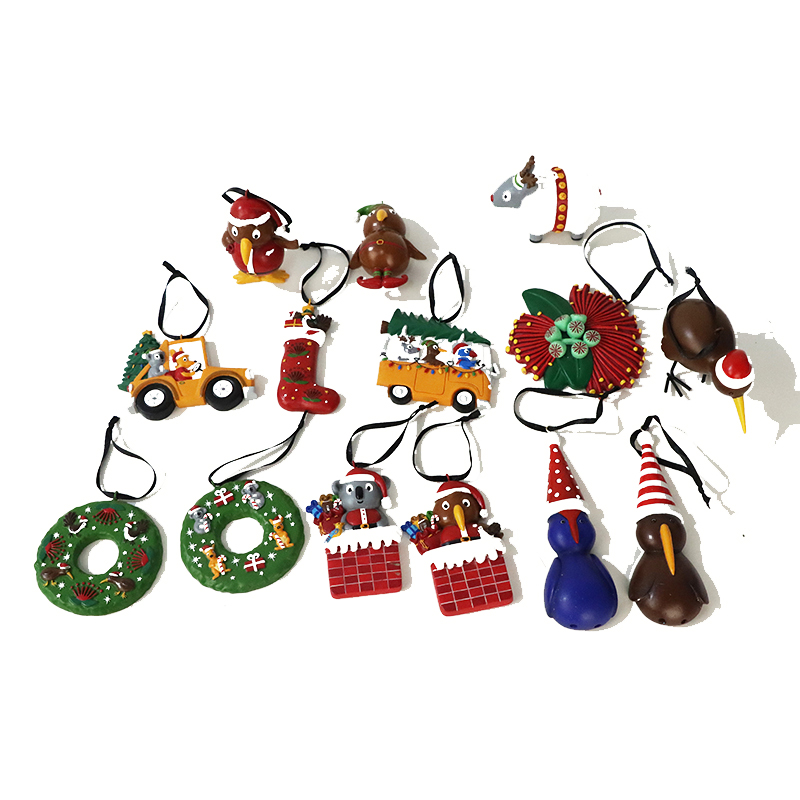
Fujian Quanzhou Zhenyue Arts & Crafts produces bright LED Christmas ornaments, blending decoration and illumination. Our LED ornaments include snow globes with LED lights, LED-lit reindeer lanterns, and mini Christmas trees with built-in LEDs. Made from resin and glass, they are safe (low-voltage LEDs) and durable, certified by CE and RoHS. The LEDs emit warm or colorful light, enhancing holiday ambiance, and can be battery-powered or solar-powered (for outdoor use). We offer customization for light colors, flash modes, and shapes (e.g., LED snowmen, LED elk). Our one-stop service covers design, assembly, and packaging. These LED Christmas ornaments are popular in global markets, favored for their energy efficiency and ability to light up holiday spaces.